¶ Getting started with WebDisk Files
This guide takes you from buying the service (or your first sign-in) to uploading your first files and putting them in order. It will take a few minutes.
¶ 1. Before you sign in — buying the service
This step is for whoever is buying WebDisk Files for themselves or for a company. If your account was created for you by your organisation's administrator, go straight to step 2.
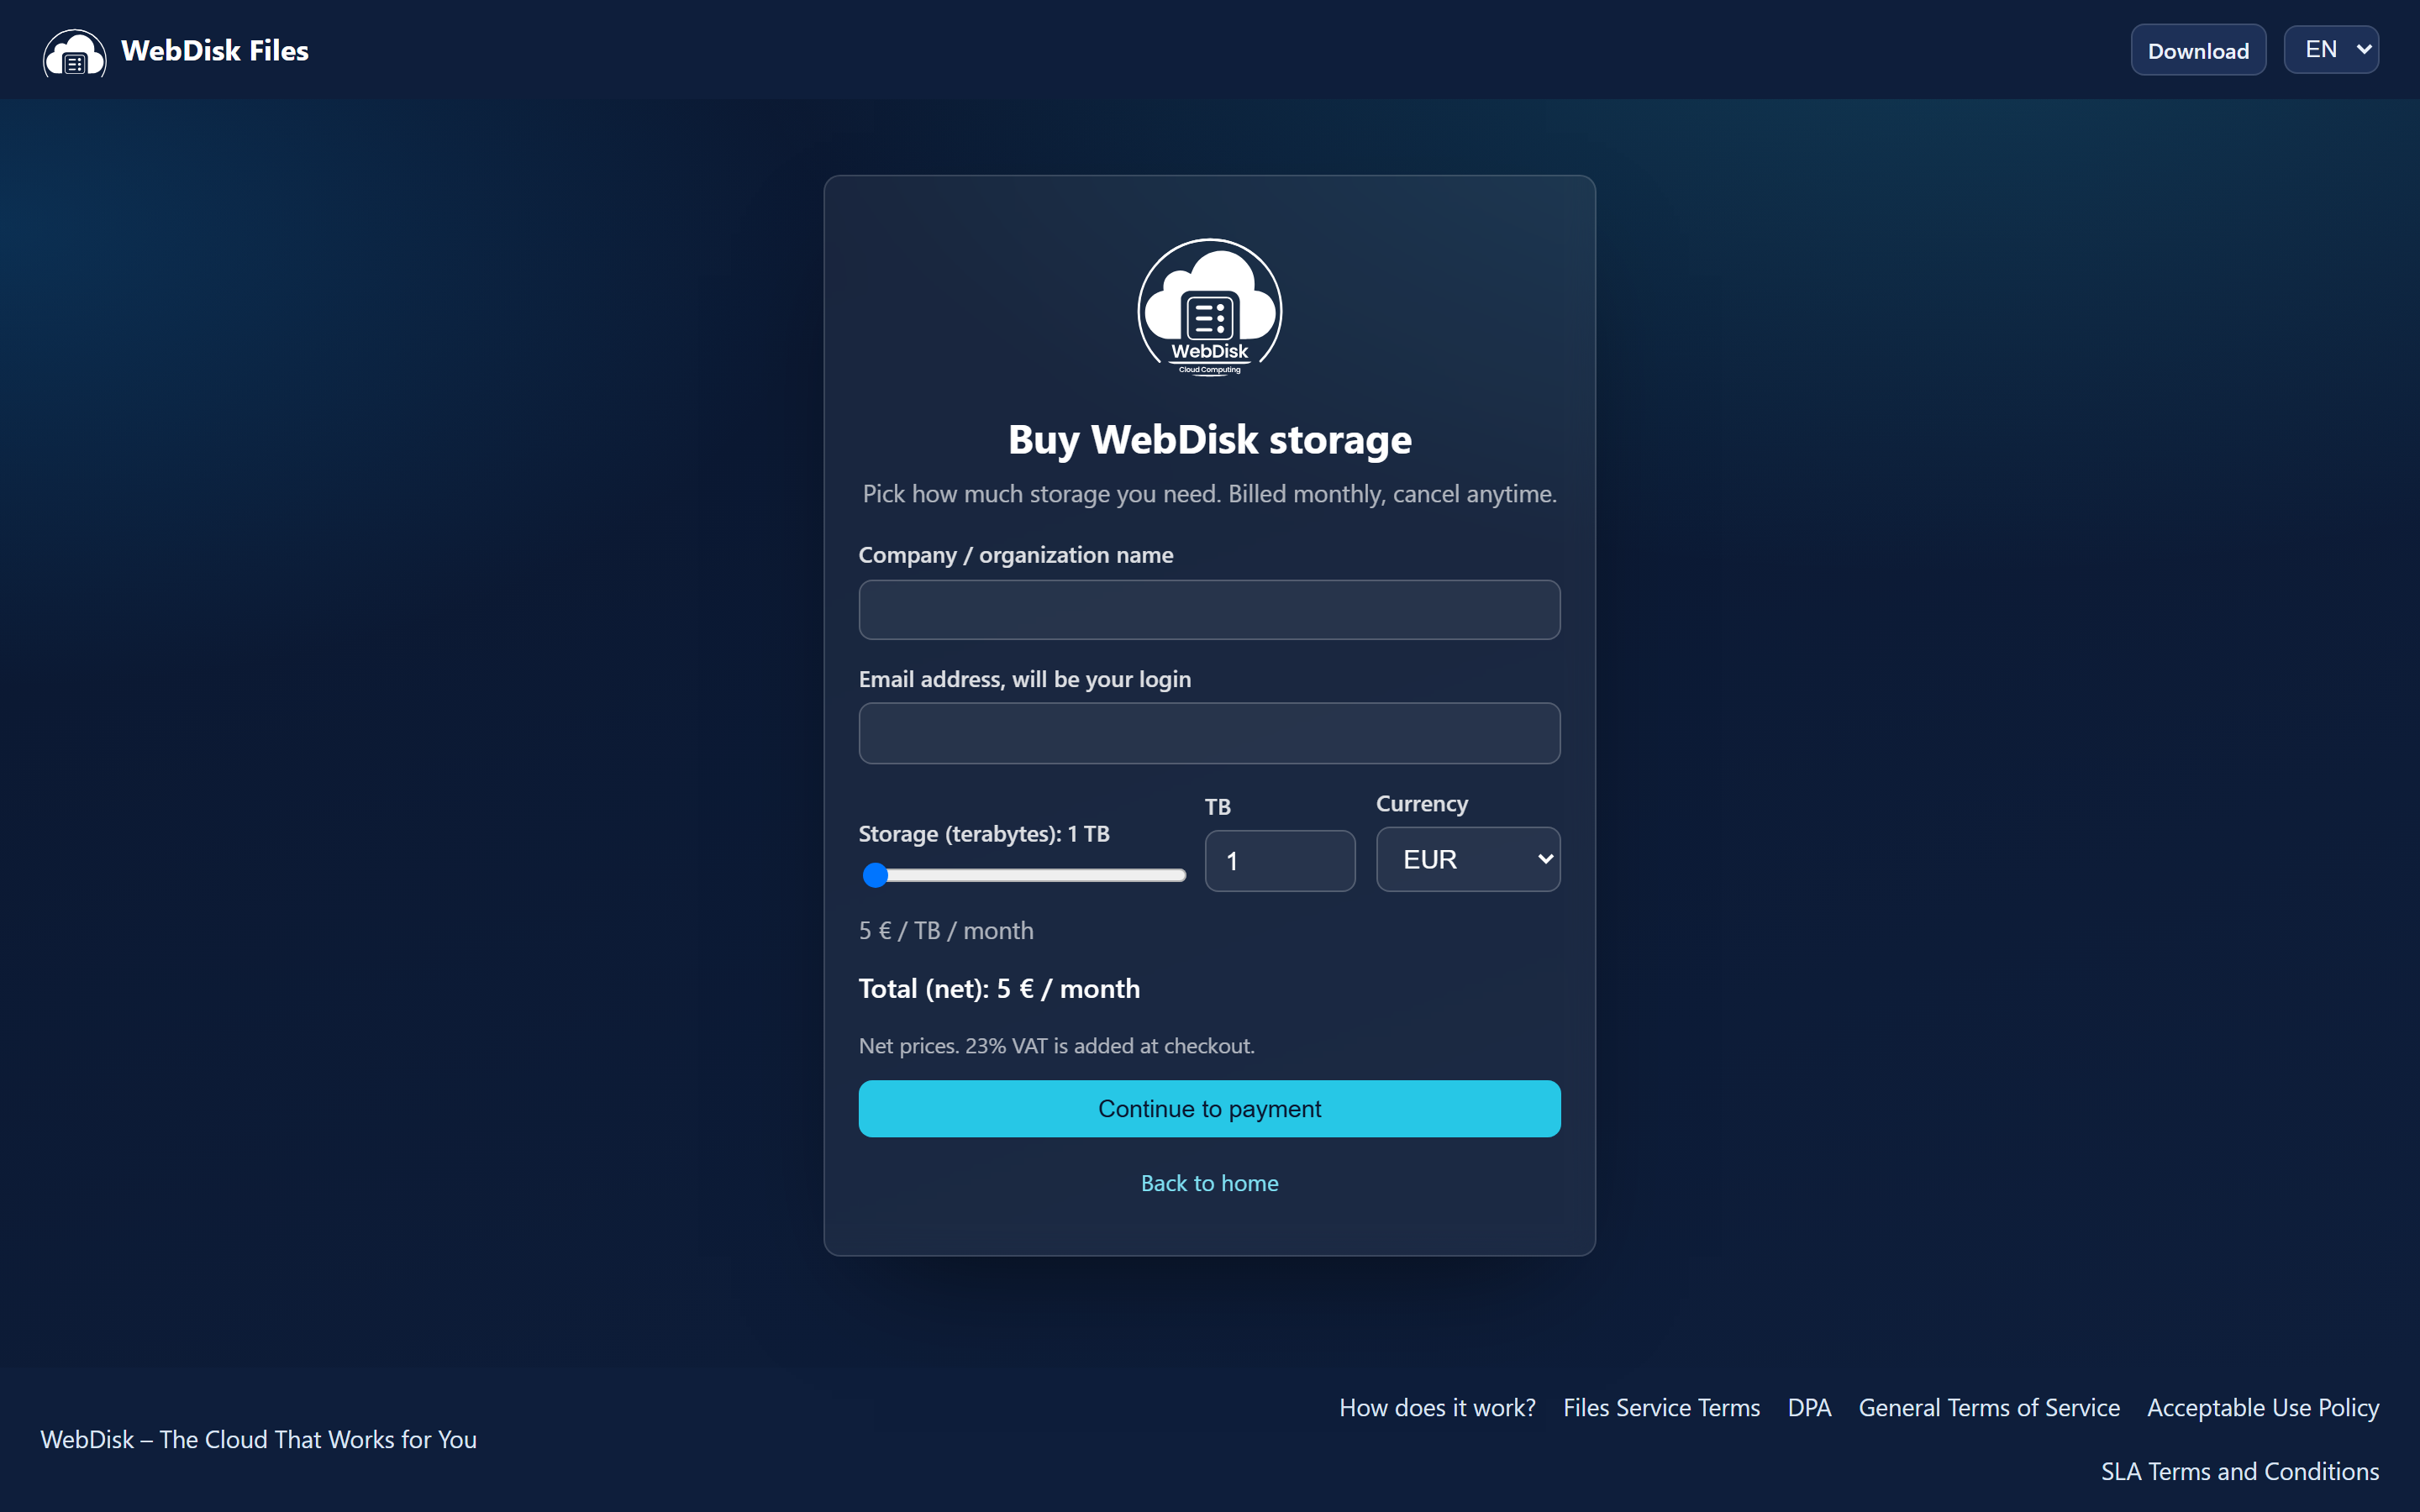
On the WebDisk Files order page you set:
- "Storage (terabytes)" — from 1 to 100 TB,
- "Currency" — PLN, EUR or USD,
- "Email address, will be your login" and the name of your company or organisation.
Prices are shown net — 23% VAT is added at checkout. Once the order is paid we send an email with a link for setting the administrator password.
💡 The password link is valid for 72 hours. If the message does not arrive, check your spam folder. If the link does expire, use "Forgot your password?" on the sign-in screen.
¶ 2. Sign in
Go to the WebDisk Files sign-in page, enter your email and password, then click "Sign in".
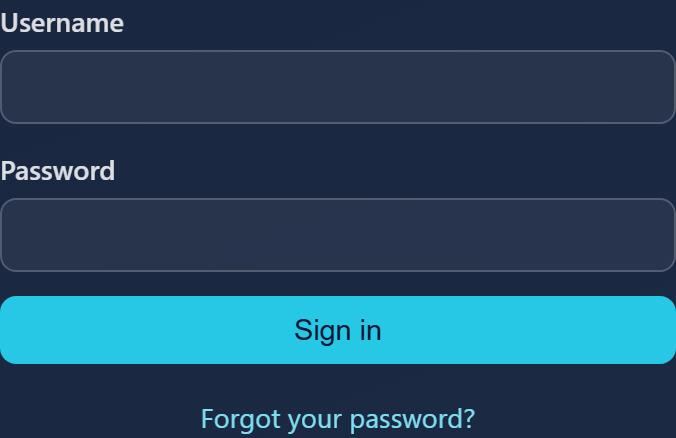
- First time here? If you received an email with a link for setting your password, click it and choose a password of your own.
- Forgotten your password? Click "Forgot your password?" — we will send a link for setting a new one (valid for 72 hours).
- Have two-factor authentication (2FA) switched on? After the password, enter the 6-digit code from the app on your phone.
⚠️ When we update the service terms, you will see a "Please review and accept" window after signing in. It blocks the panel until you open the documents and click "Accept all" (or sign out). This is a normal screen, not an error.
¶ 3. Check where you have landed
That depends on who you are in the organisation — and it is the most common surprise at the start.
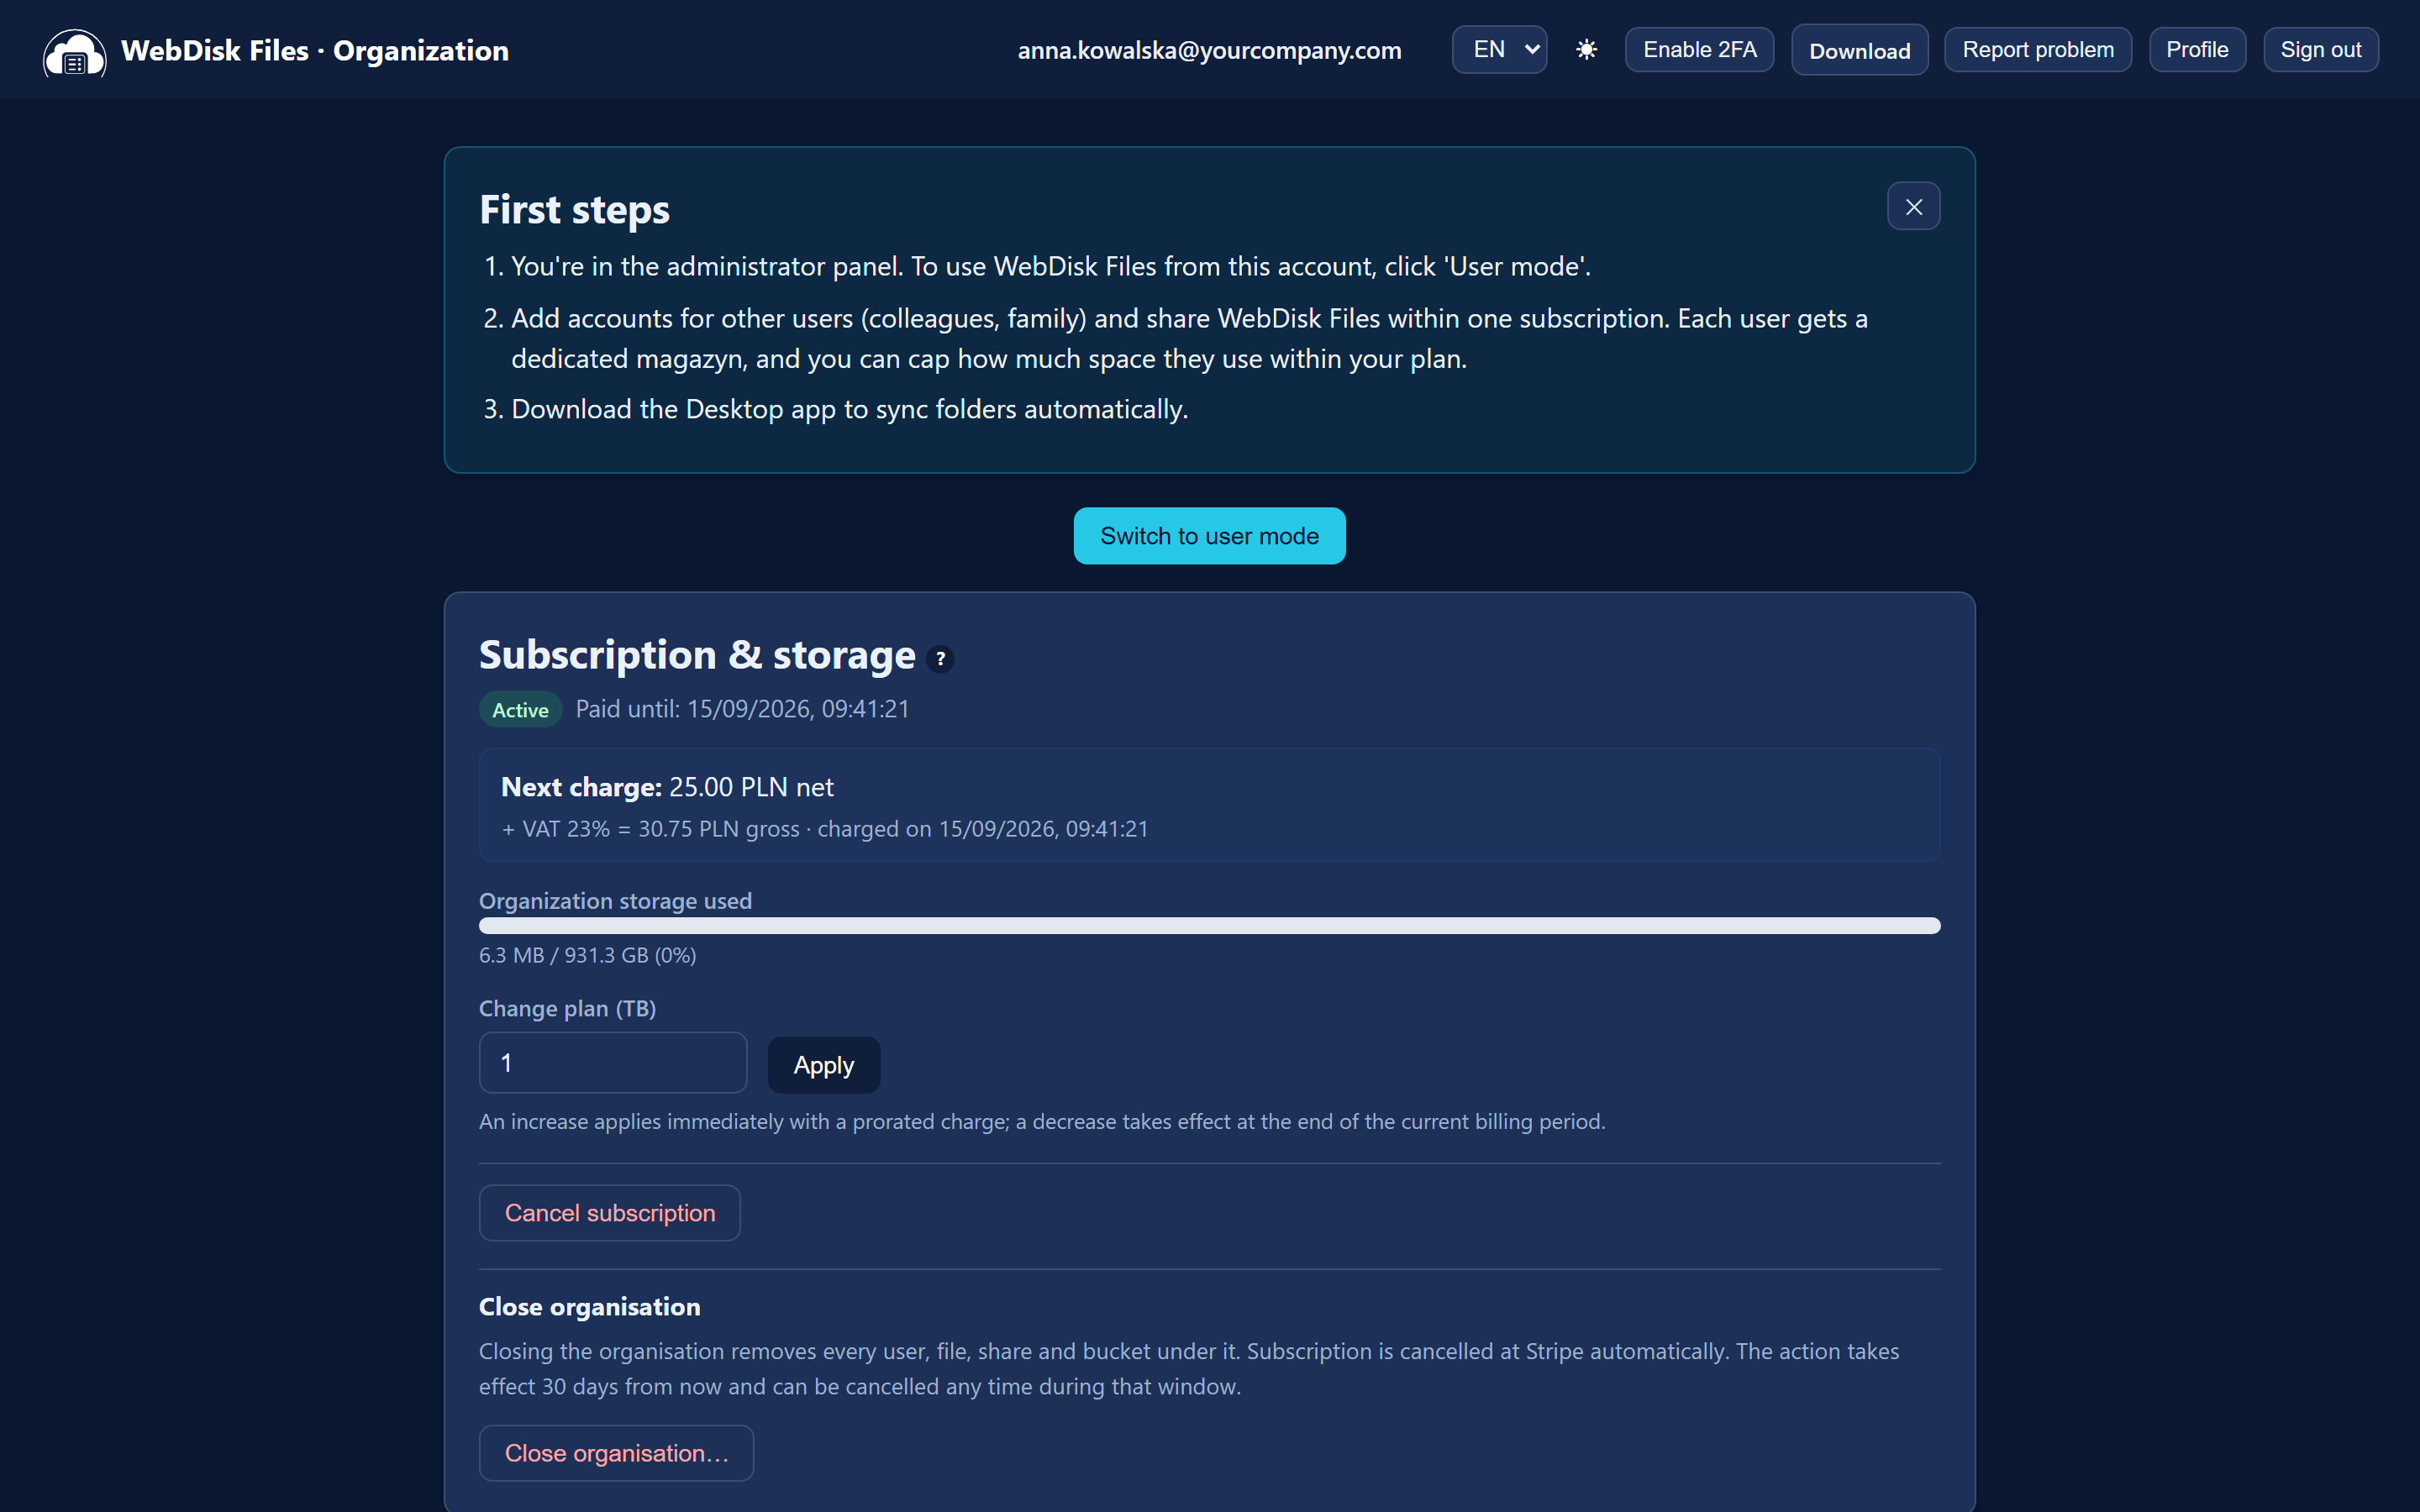
You bought the service (you are the organisation administrator) — after signing in you land in the "Organization" panel, not on the file list. This is where you create accounts, assign magazyny (storage spaces) and keep an eye on billing. To see your own files, click "Switch to user mode". You come back the other way with the "Switch to administrator mode" button in the top bar.
Your account was created for you by an administrator — after signing in you see the "Your files" card straight away.
💡 What you can do in the Organization panel is covered on a separate page: The Organization panel.
¶ 4. Look around the "Your files" panel
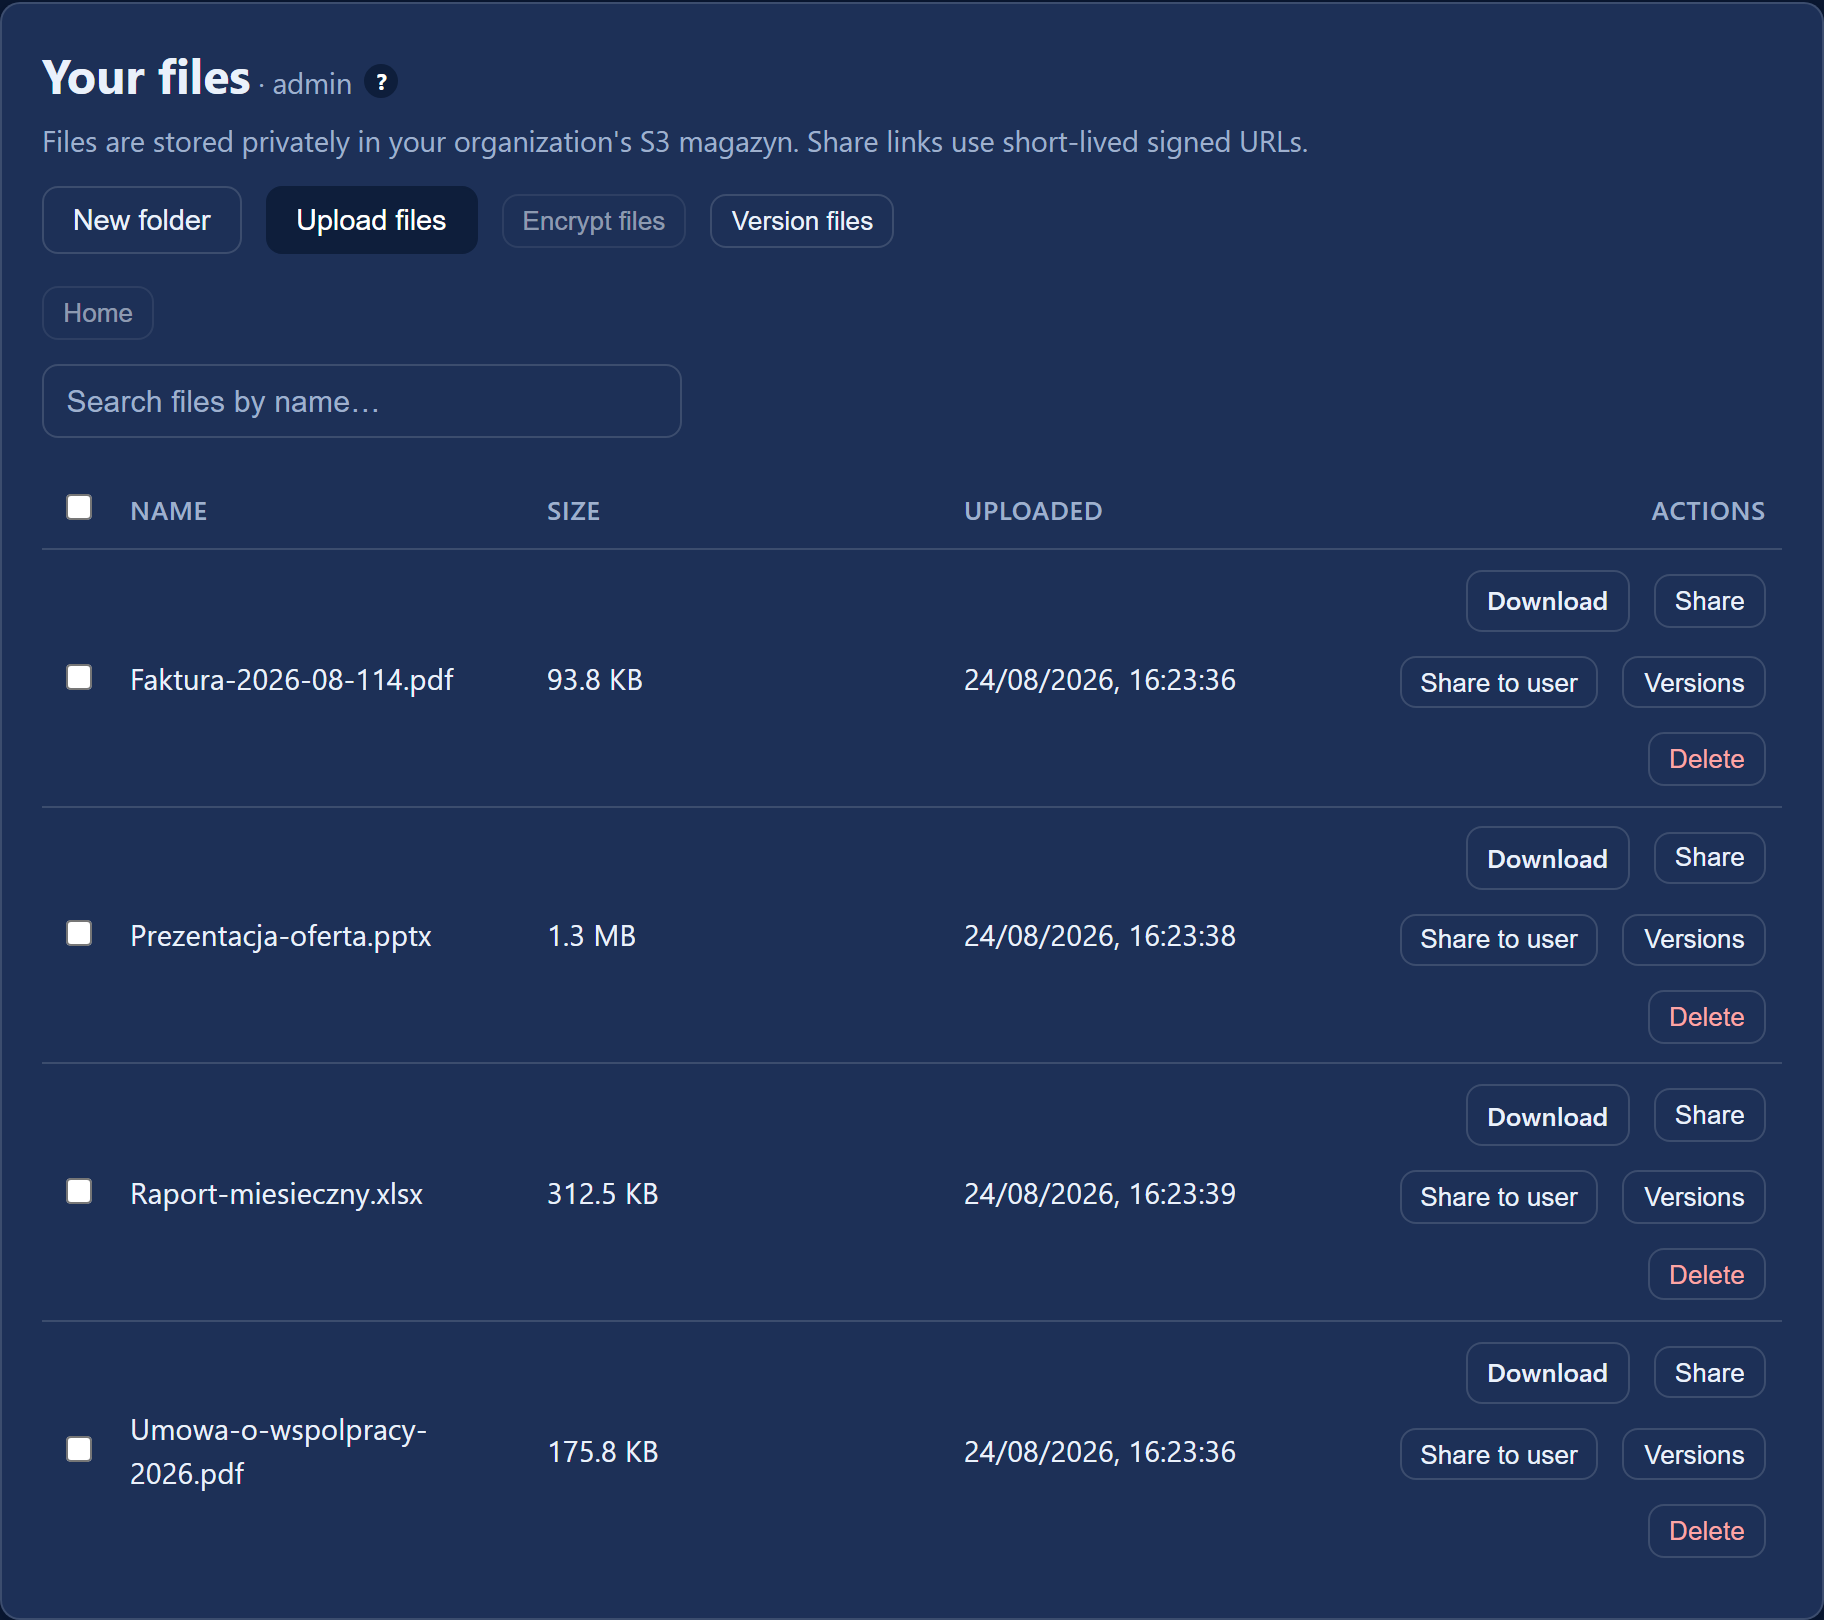
- Magazyn tabs — above the file card. Each tab is a separate space (see step 8).
- The "Home" breadcrumb — shows which folder you are in ("Home › Invoices") and lets you go back up.
- A single table with the Name, Size and Uploaded columns and the action buttons. Folders come first, files below them — there is no folder tree down the side.
- The search box — finds a file by name.
- The "Storage used" bar — shows how much you are using, if the administrator has set you a quota.
- The "Shared with me" card — appears only once somebody in the organisation has shared something with you. Until that happens the card is not there at all.
- The top bar — the language switcher (Polish, English, Ukrainian, German — your choice also drives the language of the emails we send you), the light/dark theme, the "Enable 2FA" button, "Download", "Profile", "Report a problem" and "Sign out".
¶ 5. Upload your first file
Click "Upload files" and pick a file — you can select several at once. Large files are uploaded in chunks, so a brief drop in the connection does not send the upload back to zero.
⚠️ Dragging files into the browser window does not work — you have to pick the file with the button. If the file is too large, you will see a message with the current maximum size.
💡 Uploaded a file and cannot see it in the list? Files are sorted alphabetically and split across pages, so a fresh file may well have landed on a later page. The quickest way to find it is the search box.
⚠️ If instead of the file list you see a message saying that no magazyn has been assigned to your account yet, you will not be able to upload anything — a magazyn has to be assigned to you first by your organisation administrator (The Organization panel).
¶ 6. Put your files into folders
Click "New folder", give it a name (for example Invoices 2026), go inside it and only then upload your files. An upload always lands in the folder you are currently in.
⚠️ Once a file has been uploaded you cannot move it to another folder or rename it — those operations do not exist today. So it is worth uploading files straight to where they are meant to stay.
For a folder you also get: "Details" (file count and size), "Download ZIP" (the whole folder as one file), "Share", "Share to user" and "Delete" — the folder has to be empty. By ticking files in the first column you can remove several at once with the "Delete selected" button.
💡 Folder operations (creating, ZIP, "Details", deleting) work on your primary magazyn. You will not see them on the tab of an additional magazyn.
¶ 7. What you can do with a single file
On the right-hand side of a file's row you have flat buttons: Download, Share, Share to user, Versions, Delete.
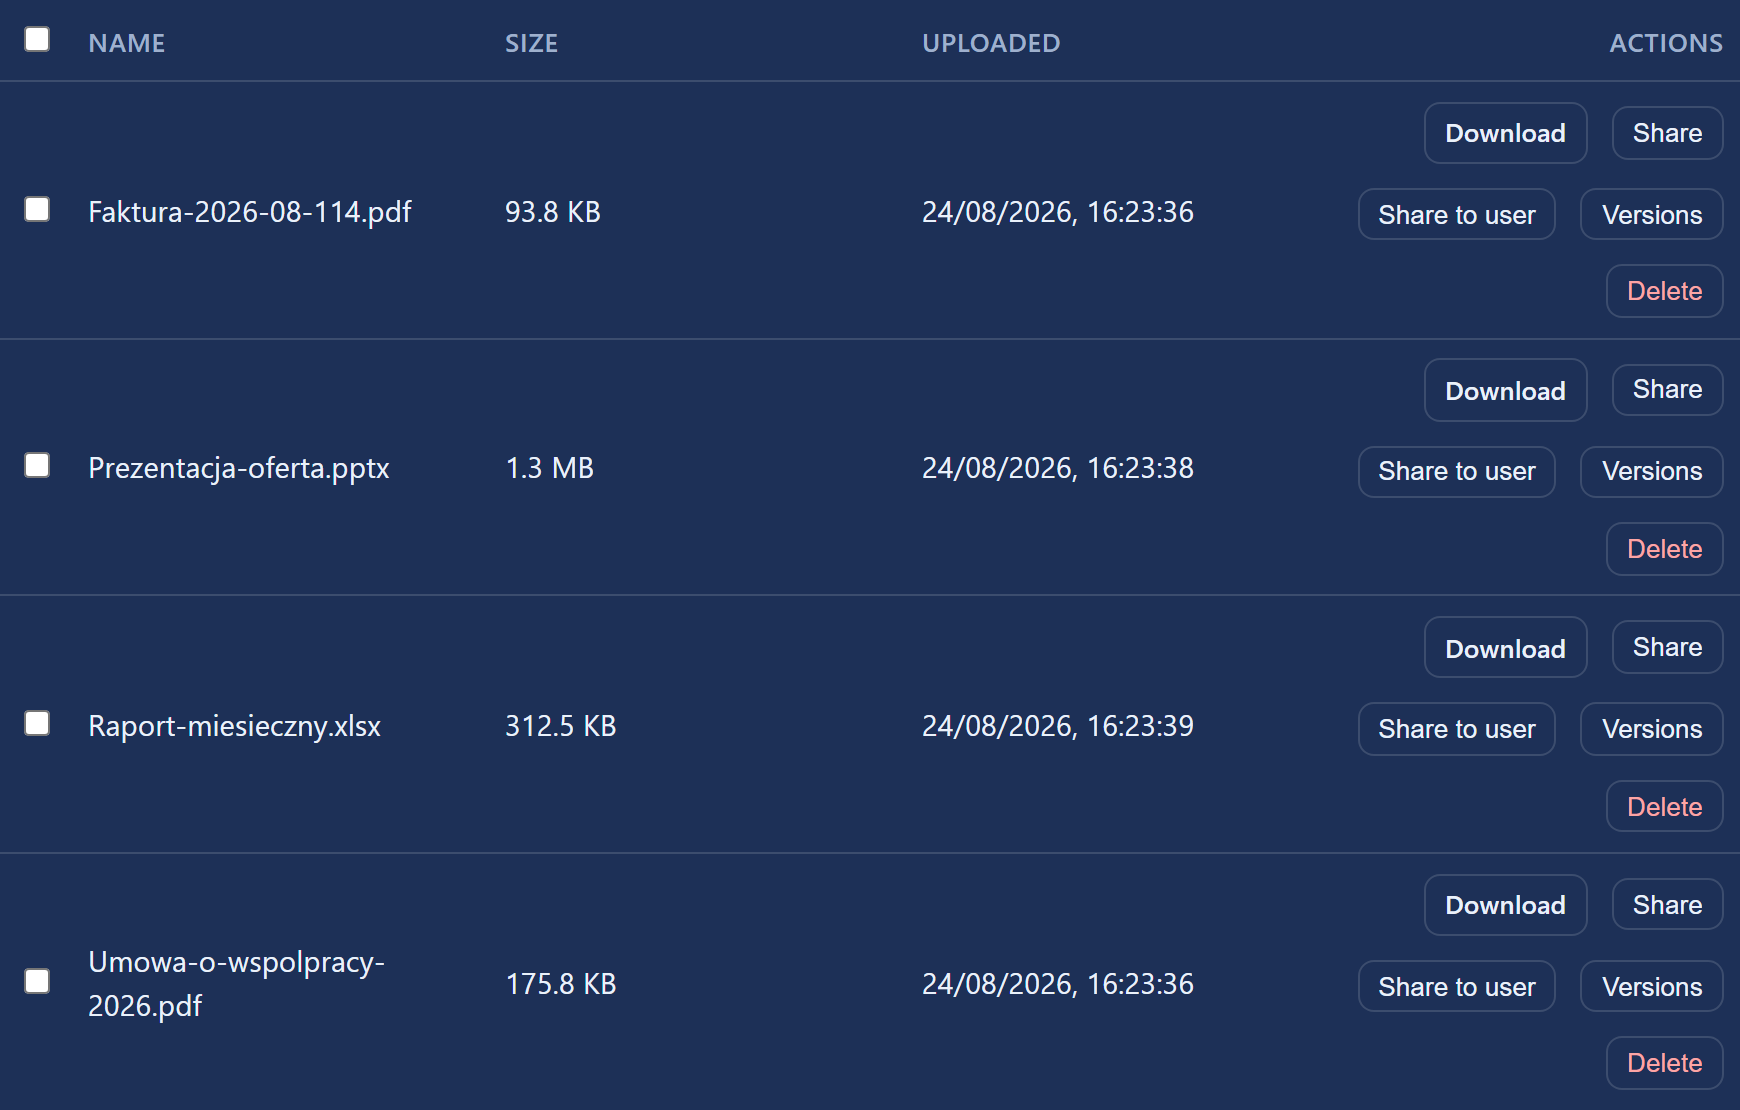
- A file name is not clickable and there is no preview in the browser — you get the file with the "Download" button. Clicking a folder name takes you inside it.
- There is no rename anywhere in the application.
- On an additional magazyn only "Download", "Versions" and "Delete" remain — sharing works on the primary magazyn.
⚠️ There is no recycle bin. Deleting a file is immediate and irreversible — unless you switched versioning on beforehand (step 9).
¶ 8. Magazyny — what the tabs above the list are for
A magazyn is a separate space for files. Every user has their own primary magazyn, and the organisation administrator can add more so that different sets of data stay apart — your storage quota covers all of them together.
The icons on a tab tell you what is special about that magazyn:
- 🔒 encrypted — files are encrypted on the server,
- 🛡 Anti-Ransomware — every file is locked for a chosen period and cannot be changed or deleted,
- ♻ auto-rotation — files are permanently deleted a set number of days after upload.
New magazyny are created by the organisation administrator — see The Organization panel. You switch between the ones that have been assigned to you.
¶ 9. Switch versioning on before you need it
The "Version files" button above the list turns on the keeping of older versions — we hold up to 3 versions of each file, and it applies to the whole magazyn. Storage use grows in proportion to the number and size of the files you keep changing.
When you have overwritten a file with a new version, click "Versions" next to it, pick an older entry and click "Restore" — it comes back as the current file.
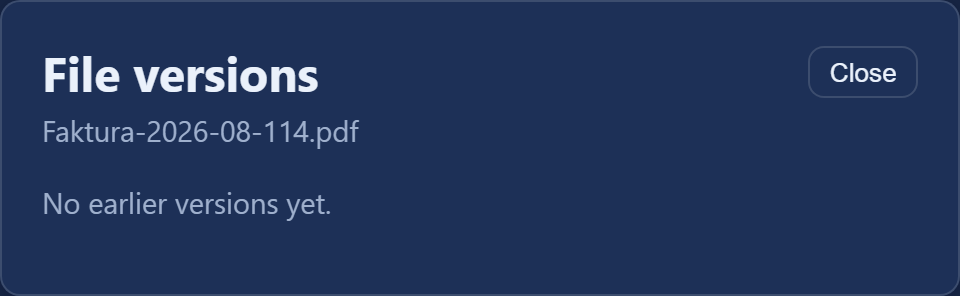
⚠️ Versions only start being kept from the moment you switch this on. A change made before versioning was enabled cannot be recovered — which is why it is worth switching on straight away.
💡 In an Anti-Ransomware magazyn versioning is permanently on and the button is inactive — keeping every successive version is precisely the point of that magazyn.
¶ 10. The desktop app
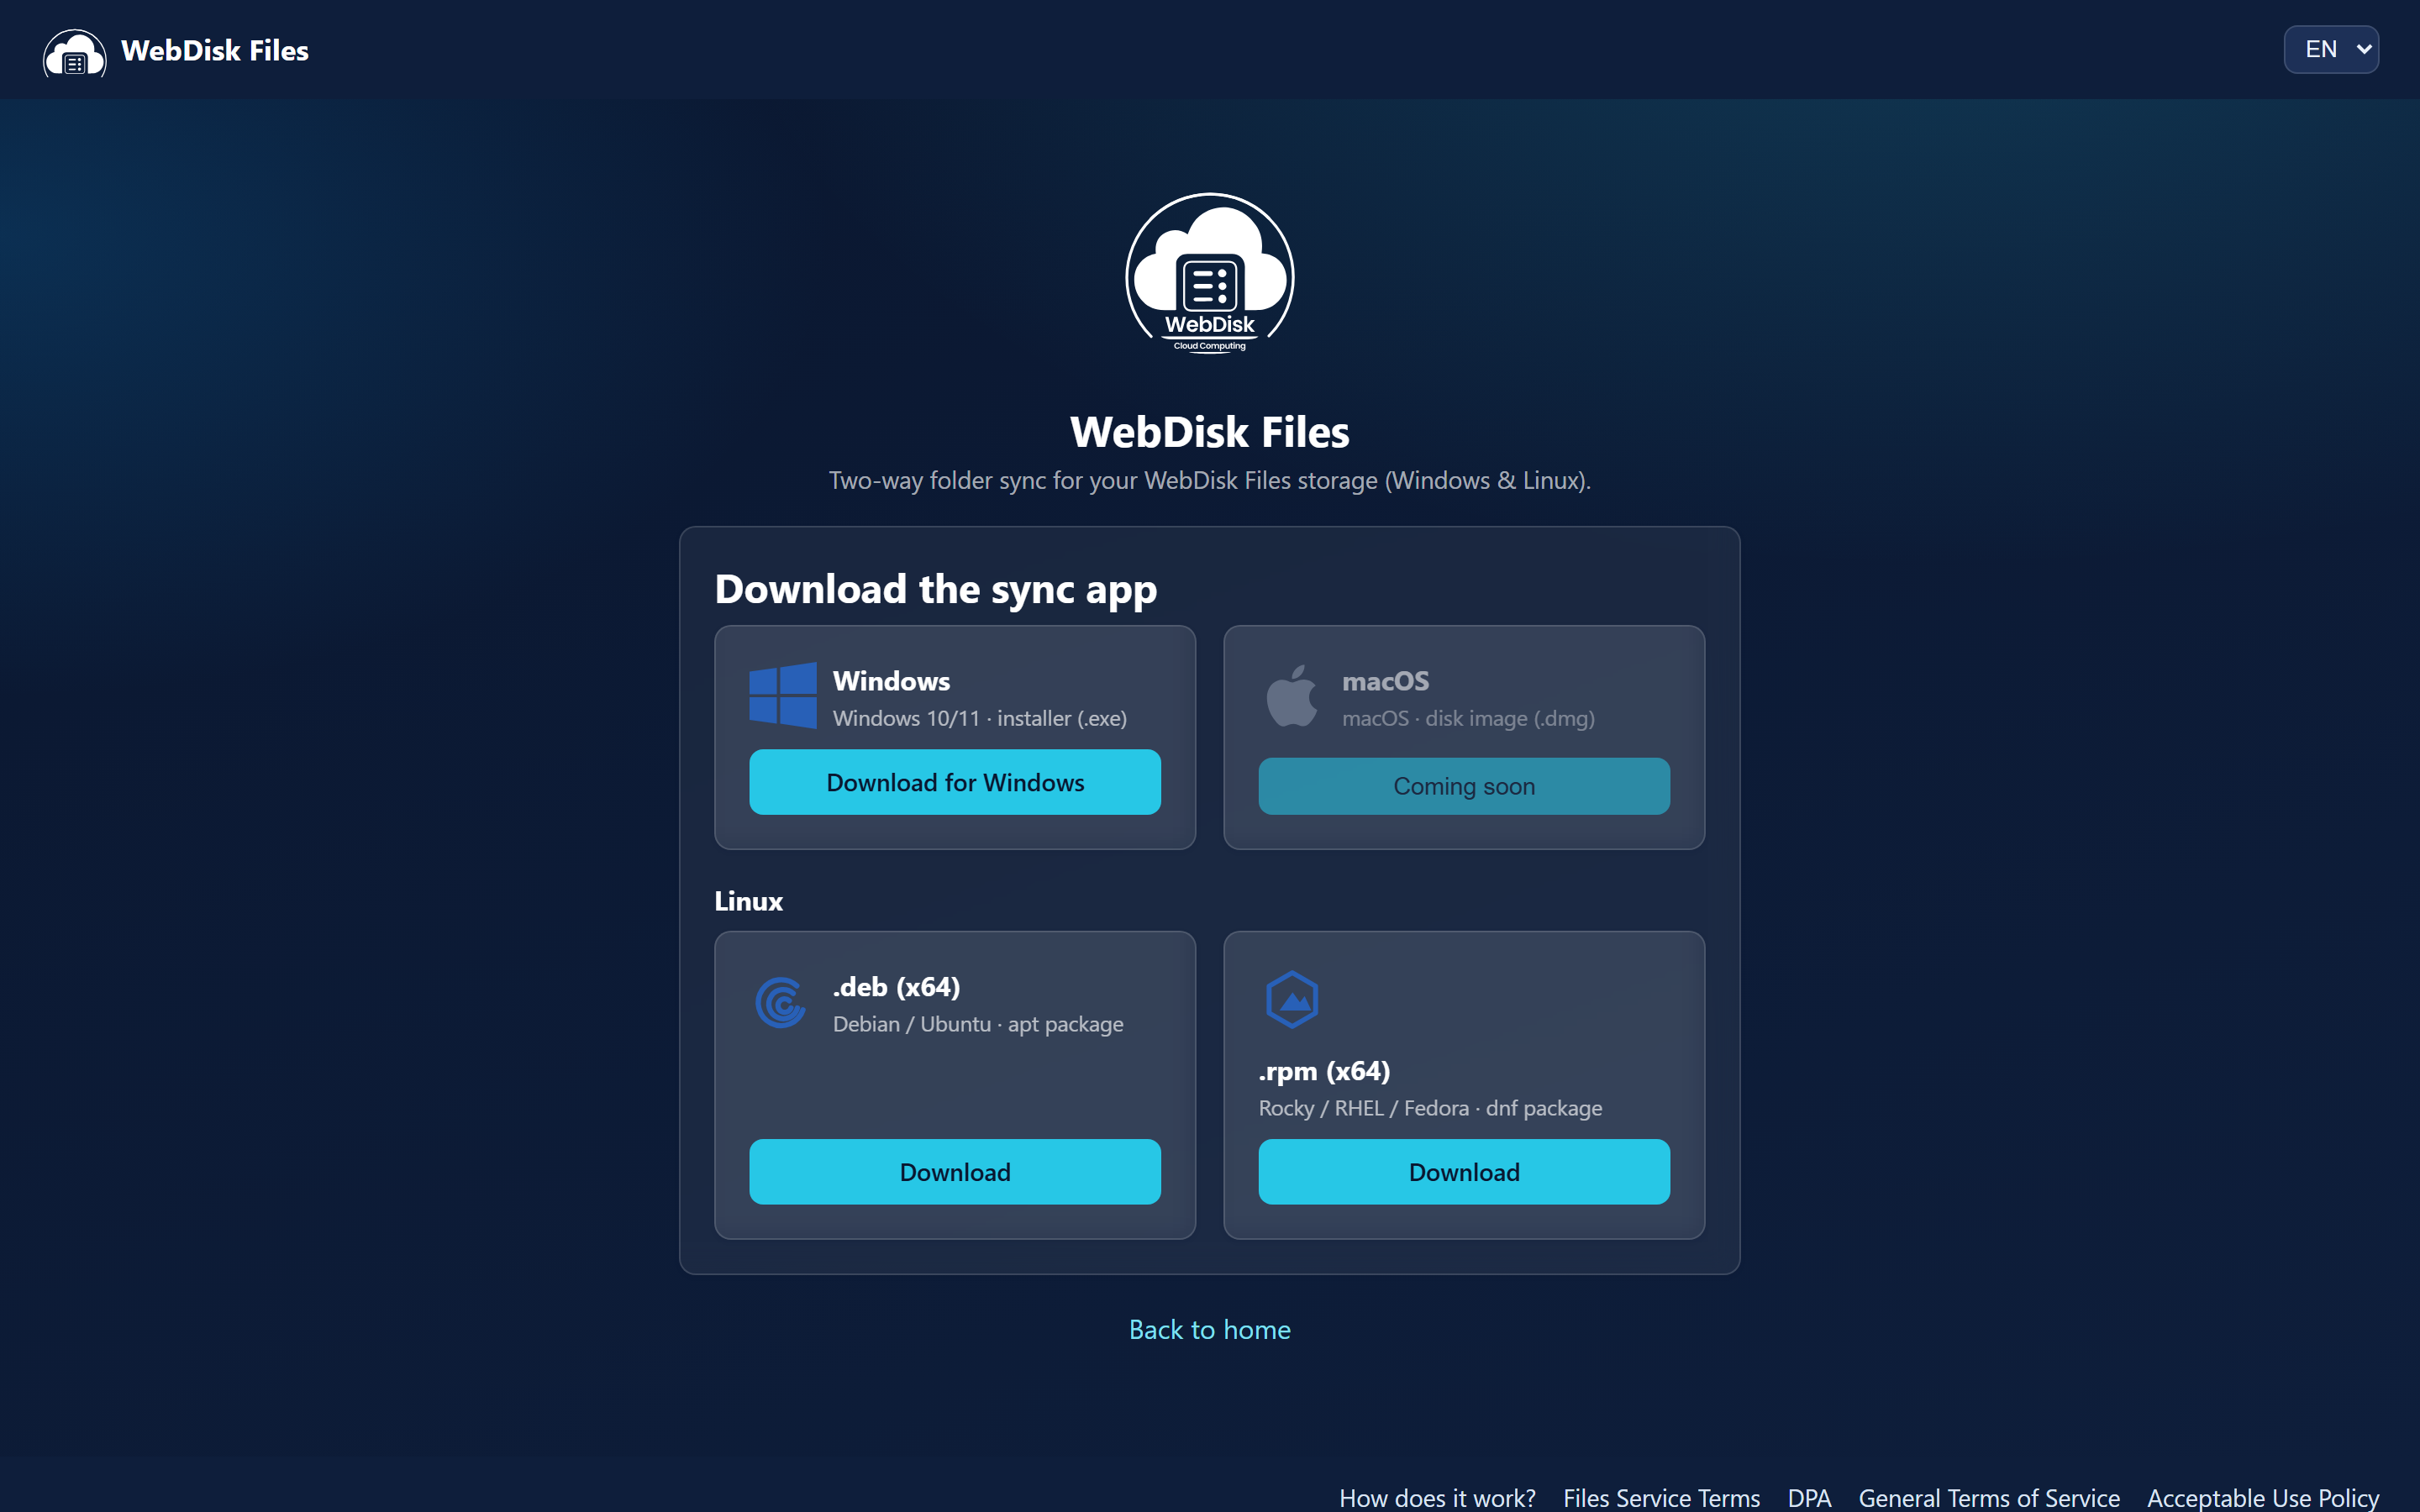
Click "Download" in the top bar — this opens the page with the Windows installer (.exe) and the .deb (Debian/Ubuntu) and .rpm (Rocky/RHEL/Fedora) packages. The macOS build is marked "Coming soon".
¶ What next?
- Want to send someone a file? → Sharing files
- Bought the service and setting up accounts for your team? → The Organization panel
- A question about space, encryption or invoices? → FAQ